Spell Checker
Enhanced Spell check and Composer language
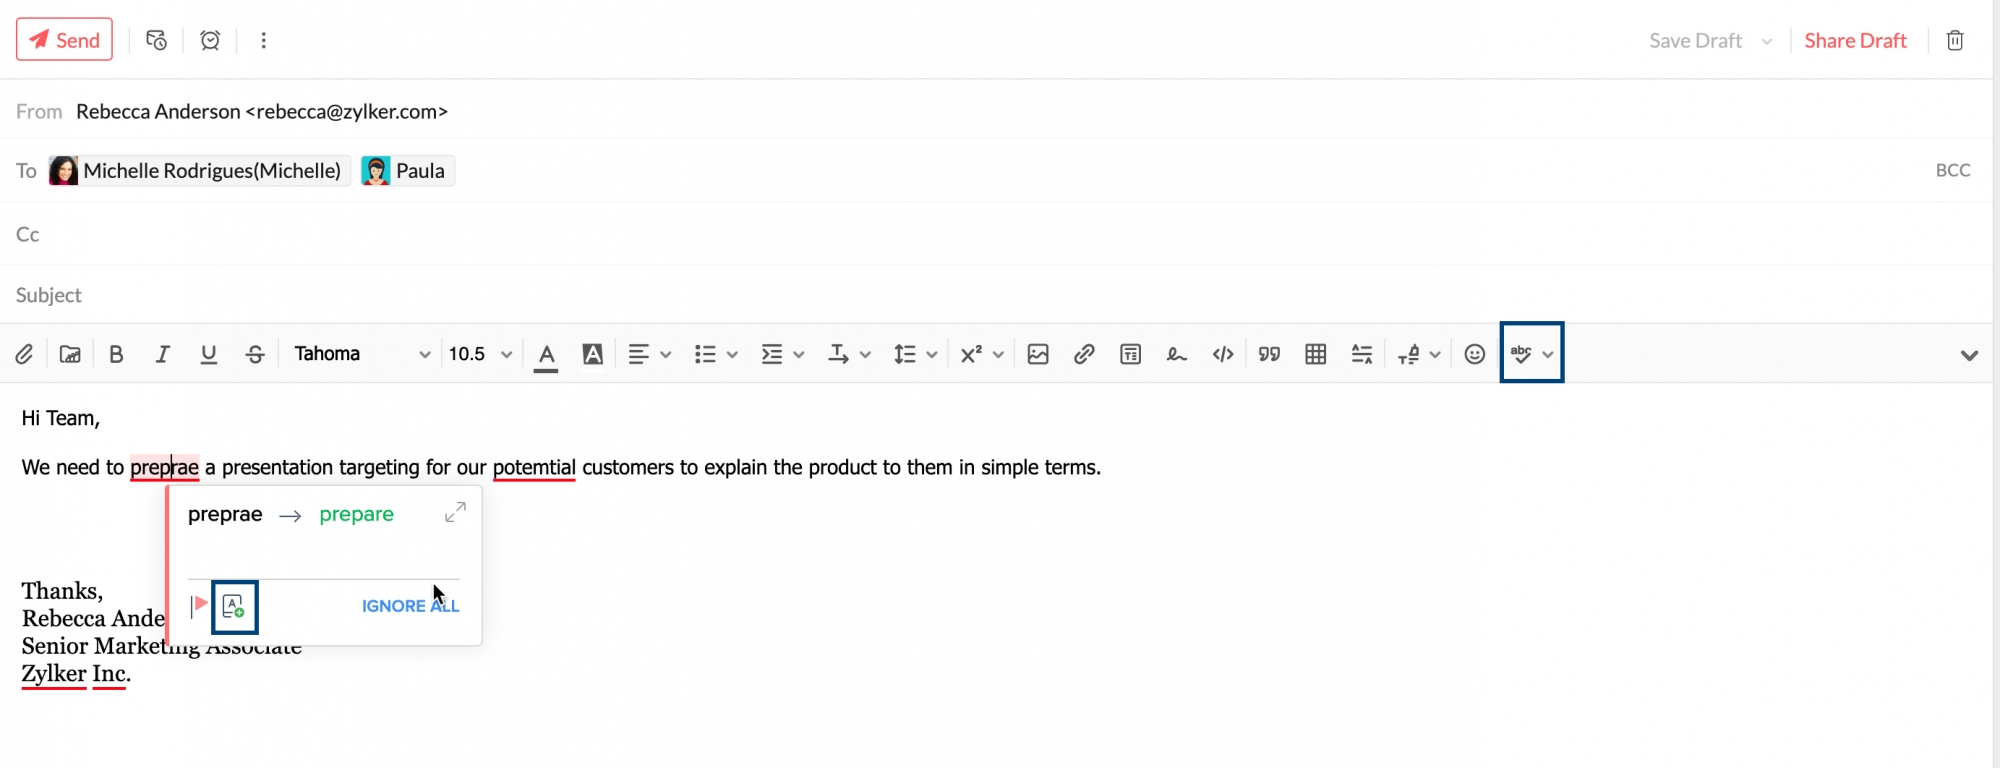
Zoho Mail has an inbuilt enhanced spell checker to correct your spelling and grammar errors on the go. After composing your email, click the Spell check icon. The misspelled words or grammar errors in your email content will be highlighted. Click the highlighted words to see a list of possible words with the nearest spelling or alternative words. You can also add a word to your custom dictionary by clicking the Add to dictionary icon so that it doesn't get flagged the next time you spell-check an email.
If you click the drop-down next to the Spell check icon, you will be shown a list of languages that you can choose from. This primarily means the language against which your email content will be checked for validation during a spell check. It does not refer to the language you can compose the email in. For example, if you've chosen English (US) from the composer language listing, the email content will be checked with an American English dictionary, and relevant spelling and grammar suggestions will be provided.
The language your email is composed in depends on the keyboard you use, and not on any of Zoho Mail's settings.
Fix Spelling Errors in Writer
Turn on spell check
You can turn spell check on or off as and when you like.
To turn on spell check,
- Click More
> Tools tab.
- Under the Review header, click Spell Check.
- Click the drop-down near Writing Suggestions and enable the Spelling Error option.
Change the spell check language
To change the spell check language,
- Click More
- Under Review, click the drop-down near the Spell Check option.
- Choose the Language option from the drop-down.
- In the "Language & Region" pop-up that follows, change the Locale settings based on your requirements.